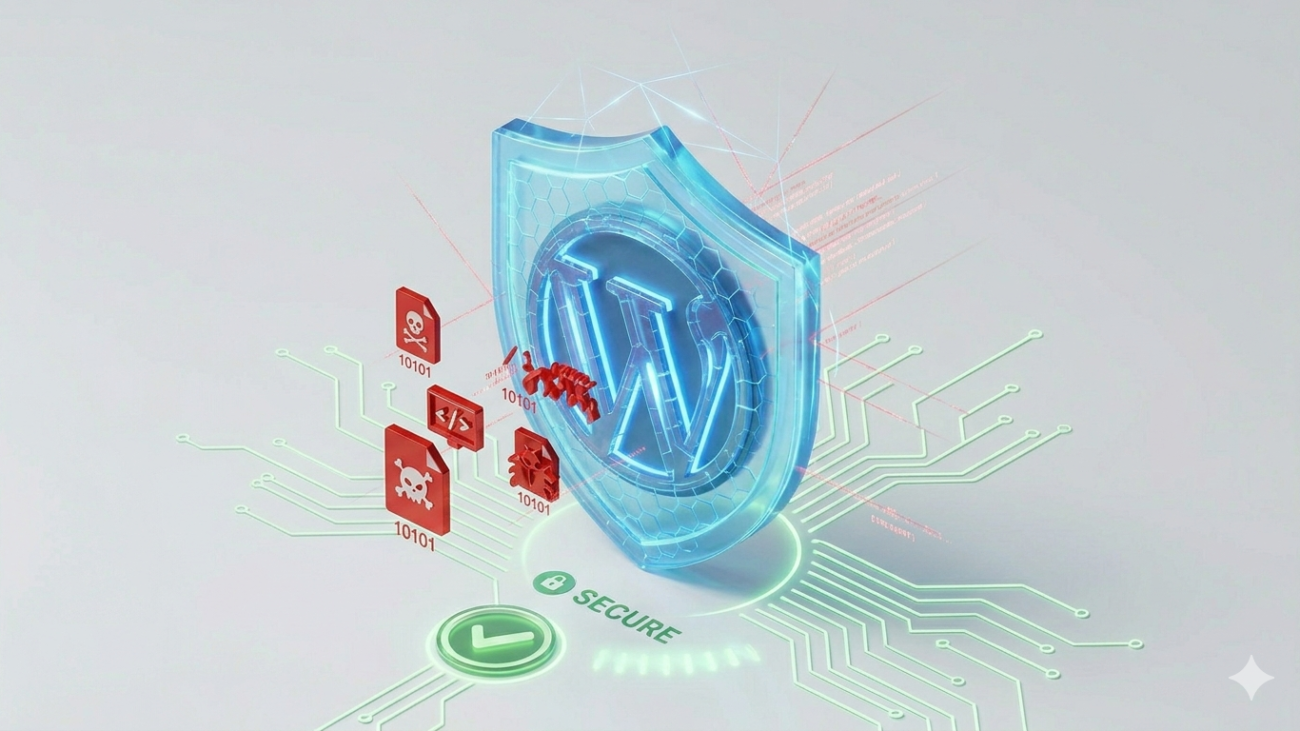
My Site Was Hacked: A 2026 Emergency Manual to WordPress Malware Removal
There is a specific kind of sinking feeling that only a website owner understands. You wake up, grab your coffee, and check your site—only to be greeted by a bright red Google warning screen that says, “The site ahead contains harmful programs.” Or worse, your homepage has been replaced by a “Hacked By” screen or redirected to a sketchy pharmaceutical site.
In 2026, WordPress security has become a sophisticated arms race. Hackers aren’t just kids in basements anymore; they are AI-driven botnets looking for a single outdated plugin or a weak password to inject malicious redirects, SEO spam, or hidden “backdoors.”
If your site is currently compromised, do not panic. Panic leads to deleting the wrong files, which can turn a hacked site into a permanently broken one. Follow this manual to perform a professional-grade malware cleanup and regain control of your digital asset.
Phase 1: Immediate Triage and Containment
Before you start deleting code, you must contain the infection. If you don’t, the hacker’s automated scripts might detect your changes and re-infect the site in real-time.
1.1 Maintenance Mode & Access Lockdown
First, prevent your visitors from being infected. If you can still access your dashboard, install a maintenance mode plugin. If not, you can add a simple index.html file to your root directory to override the WordPress index.
Next, change every single password associated with the site:
- SFTP/FTP Accounts: This is often how hackers upload malicious files.
- Hosting Control Panel (cPanel/Plesk): Essential to ensure the “house” itself is secure.
- WordPress Admin Users: Check the “Users” list for any accounts you didn’t create. Delete them immediately.
1.2 The Site Backup (Even the Infected One)
It sounds counterintuitive, but you must take a full backup of the hacked site. If your cleanup goes wrong and you accidentally delete a critical database table, you’ll want a way to revert. Use your hosting backup tool or SFTP to download your public_html folder and export your SQL database.
Phase 2: Identifying the Infection (The Audit)
You cannot fix what you cannot see. Malware in 2026 is often “fileless” or hidden inside legitimate WordPress core files using Base64 encoding.
2.1 Scanning for the “Red Flags”
Use a combination of remote and server-side scanning. Remote scanners like Sucuri SiteCheck can see what the user sees (redirects, blacklisting). However, you need a deep scan for the server-side files.
- Check the .htaccess file: Hackers love to hide redirects here. Look for any code that doesn’t look like standard WordPress rewrite rules.
- The wp-config.php check: This file contains your database credentials. If a hacker has this, they have everything. Look for any code above the <?php tag—a common injection point.
2.2 Searching for Suspicious Strings
If you have SSH access, you can run a command to find common malicious patterns:
grep -rnw . -e ‘base64_decode’ –exclude-dir=node_modules
While base64_decode is used by some legitimate plugins, it is the primary tool for obfuscating malware. If you see it in a file where it doesn’t belong (like index.php), you’ve found a lead.
Phase 3: The Manual Clean (The “Nuke and Pave” Method)
A “plugin-only” scan often misses deep-rooted shells. The professional way to clean a site—and the way we do it at Webfixon—is the “Core Replacement” method.
3.1 Replacing Core Files
The wp-admin and wp-includes folders should never contain custom code.
- Download a fresh copy of WordPress from WordPress.org.
- Delete your existing wp-admin and wp-includes folders via SFTP.
- Upload the fresh versions.
This instantly removes any malware hidden in the core of your WordPress installation.
3.2 Cleaning the wp-content Folder (The Danger Zone)
This is where 99% of infections live because it’s the only folder that must remain unique to your site.
- Plugins: Do not try to “clean” a plugin. Make a list of your plugins, delete the entire /plugins/ folder, and reinstall them from the official repository.
- Themes: If you’re using a premium theme, download a fresh copy from the developer. If you have a child theme with custom code, you must manually inspect every .php file for suspicious strings.
- Uploads: Hackers often hide .php files inside your /uploads/ year/month folders. Use your file manager to search for any file ending in .php inside the uploads directory. There should be zero PHP files in your uploads folder.
3.3 The Database Scrub
Sometimes the malware isn’t in a file; it’s in your database. Check the wp_options table, specifically the siteurl and home fields, to ensure they haven’t been changed to a malicious domain. Also, look at the wp_posts table for any injected <script> tags or hidden <iframe> elements.
Phase 4: Hardening the Perimeter
Cleaning the site is only half the battle. If you don’t close the door they walked through, they will be back in 24 hours.
4.1 Resetting Security Salts
Your wp-config.php file contains “Security Salts.” These are random strings that encrypt your cookies. If a hacker has stolen your session cookie, they can log in even if you changed your password.
Go to the WordPress Salt Generator, copy the new keys, and replace the old ones in your wp-config.php. This will instantly log out every user globally.
4.2 File Permissions
Ensure your file permissions are set correctly:
- Folders: 755
- Files: 644
- wp-config.php: 440 or 400 (to prevent unauthorized reading).
4.3 Implementing a Firewall (WAF)
In 2026, a signature-based firewall isn’t enough. You need a Web Application Firewall (WAF) that uses behavior analysis. Tools like Cloudflare or Wordfence can block IPs that attempt “Brute Force” logins or “Directory Traversal” attacks before they even touch your server.
Phase 5: Why “DIY” Malware Removal is Risky
While this manual provides the steps, WordPress malware removal is a high-stakes task. One small mistake—leaving behind a single line of hidden code (a “backdoor”)—means the hacker can regain entry at any time.
Furthermore, a hacked site often suffers from SEO Hemorrhaging. If Google blacklists your site, your rankings will tank. Even after cleaning the site, you must manually request a review via Google Search Console to prove the site is safe. If you haven’t cleaned it 100%, Google may reject your request, making it even harder to get back into their good graces.
The Webfixon Advantage
At Webfixon, we don’t just “scan” your site. We perform a surgical cleanup:
- Deep Forensic Audit: We find the entry point so it never happens again.
- Professional Core Replacement: We ensure every file on your server is 100% authentic.
- Blacklist Removal: We handle the communication with Google and Norton to get your “Deceptive Site” warning removed fast.
- 24/7 Monitoring: Our maintenance plans include real-time threat detection.
Conclusion: The Roadmap to Recovery
A hack is a wake-up call. It usually means your maintenance routine has lapsed. By following the “Nuke and Pave” method—replacing core files and fresh-installing plugins—you can recover your site’s integrity.
Quick Checklist for Today:
- Lock down all passwords.
- Replace wp-admin and wp-includes.
- Delete and reinstall all plugins.
- Clear your uploads folder of .php files.
- Reset your Security Salts.
Still seeing redirects? Or is the “Red Screen of Death” still haunting your homepage?
Don’t wait until your SEO is permanently damaged. Contact the experts at Webfixon for an emergency quick fix. We’ll have your site clean, secure, and back online in hours, not days.
FAQ: WordPress Malware Removal
Q: Will deleting a hacked plugin remove the malware?
A: Usually, yes, but hackers often leave “backdoors” in other folders so they can reinstall the malware even after the plugin is gone. You must check the entire file structure.
Q: How long does it take for Google to remove the “Deceptive Site” warning?
A: Once you submit a request through Search Console, it typically takes 24 to 72 hours for Google to verify and clear the warning.
Q: Can I just use a free plugin to fix everything?
A: Free plugins are great for detection, but they often struggle with “auto-cleaning” complex injections without breaking your site’s layout. Manual verification is always recommended.